While my husband and I have been attending weddings like weekend warriors – it’s been difficult to justify experiments in the kitchen. Yes, I’m human and can only dance off so many calories (and those bridesmaid dresses are never forgiving are they!?) Truly, it’s a bit necessary give the baking and ice-cream trials a rest.
Combine the wedding eating and drinking extravaganza with the baby bonanza that is erupting among the other half of my friends/family and we have a necessary project. Yes folks, it’s summertime and therefore, appropriate to bring us all back to our summer camp days. Gather ’round the picnic table – we are about to get crafty.
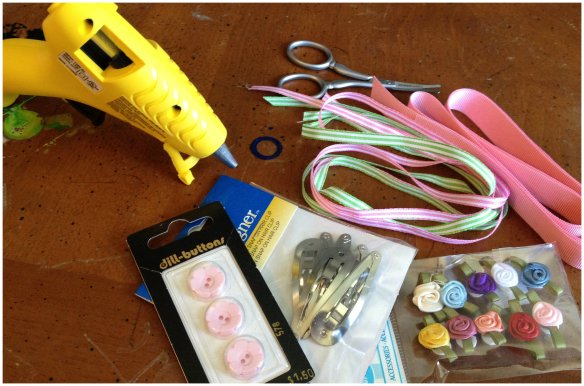
I had an idea of what I wanted to make for all the sweet baby girls that are about to arrive into the world (hair-clips!!) but I didn’t have any of the items necessary. So, I strolled over to the local fabric store, Stitches. They have a fabulous assortment of supplies and I purchased a small amount of ribbons, hair-clips and a few add-ons for about $6. Yes, you read that correct. $6!!! When does anything (let alone anything for a baby girl) cost $6? Almost never.
The rest was easy and fun. I decided to cozy up to our “crafts” table (the table that my husband used as a child to paint his model airplanes), in the event that the project became messy. I plugged in my cheap-o glue gun, found a pair of sharp scissors and got to work.
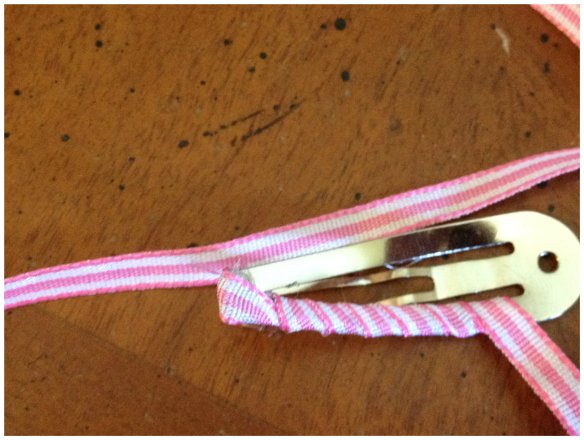
First, add a tiny dab of glue to the bottom of the tip of the hair-clip. Then, start to wrap the hair-clip with ribbon. Feel free to do a “practice wrap” before you commit to adding glue. Once you feel comfortable moving along, remember that it’s a good idea to add a bit of hot glue as you go. Stick to a system – ie. add a dab of glue on the bottom of the clip every time you wrap the ribbon around. This way the ribbon is secure along the metal clip. If you don’t add the hot glue as you go, the ribbon may slip and slide over time and the silver metal will be exposed.
 That was easy, huh?
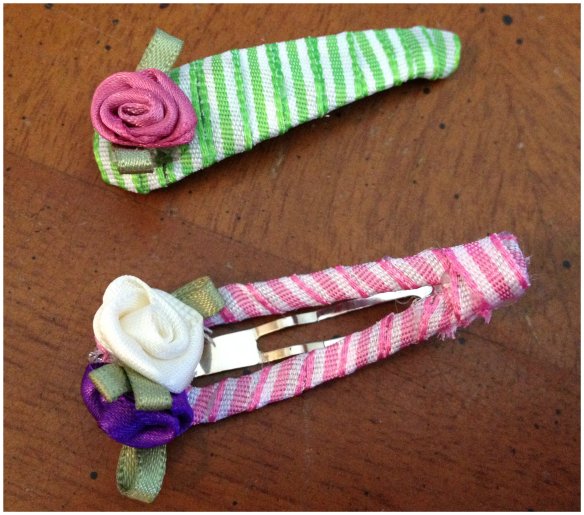
I’m pretty sure it took all of 5 minutes. So I made a second one. With pink, of course!
 It’s so simple (and cheap) and truly a thoughtful gift. As you know, I’m always a fan of a homemade gift. And I’m already dreaming up ideas for other barrettes and hairbands that would be super sweet. Big, poofy ribbon roses or sweet pink heart barrettes or we could go in an entirely different direction of whale ribbons for a preppy east coast nautical theme… the possibilities are endless!!!
Since I don’t have a little girl – I had my Lucy dog model the hair-clip. She stayed still just long enough for me to snap a picture. Pretty cute, huh?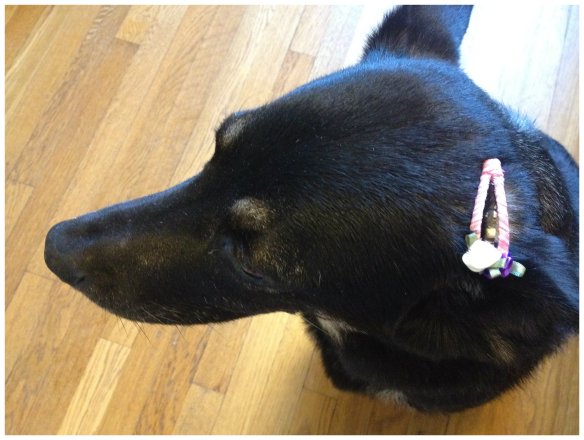
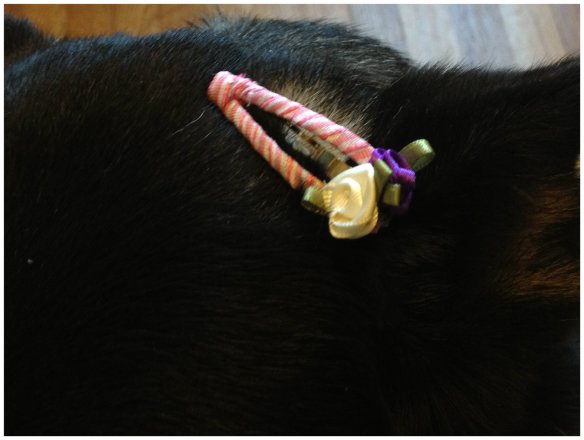 I think so too!
Good luck and happy crafting!
XOXO, Em

great idea–I’m going to make one for Brynn, now that she has more hair 😉
Oh!! How fun. I’ve been thinking about using stretchy ribbon to make soft headbands… There is another idea for Brynn. Good luck and send me a pic of the results! Xxoo
Lucy is quite the cute little model 🙂
Yep. She was totes vogue’n 😉